Sistership Corazón under sail, a Searunner 34 in Mexico

Sistership Corazón under sail, a Searunner 34 in Mexico
Searunner 34 CORAZÓN sailing in the Sea of Cortez, México

Wednesday, January 26, 2011

Progress Since Last Post

 This Lewmar 20 Ocean Hatch has a major amount of crazing in the acrylic.  A couple of firms advertise online to repair just about any hatch at much less than the replacement cost of a new one.  I sent an email off to both firms.  One responded and quoted me a price just about the same that it will cost me for a new one online, including shipping!  The other firm never responded to my email.  Guess what I will be doing?  That's right, buying a new one to replace this one.
 Looking straight down on the port forward wing locker, you can see how I am adding the 1/4" inch of epoxy filler to extend the edge of the plywood all in plastic to avoid the wet rot I had before. Using a piece of scrap wood, I put on 3M 471 tape and make a channel for the bog. If you look carefully at the top edge in this photo, you can see one of the completed edges of the deck plywood and bog combination.  Once the edge is painted, it will disappear and not be visible all the while it is protecting the edge of the plywood from moisture penetration.

The first step was for  my wife and me to add about 1/4" of bog to the wet locker hatches. Next, I routered the edges out on the deck around the wet locker, and this photo shows how I have added the 1/4" back in with bog. Thanks to Mark Johnson for the tip on using this 3M tape for this type of operation.  It is expensive but does the trick.  It reminds me of electrical tape in blue.  I wonder if electrical tape will do as well at a much lower cost? Hmmmm..., maybe it is time for an experiment. The resin will not stick to either side of the tape once the epoxy has kicked off, but it does need to kick before removal.
 Here is another picture of the process in two of the self-draining wet lockers with the scrap wood and tape curing in good sunlight.
 No, this is not graffiti or modern art.  Doreen had gone around and marked areas that need attention with thin fairing or pin-hole filling prior to painting.
More areas needing fairing.

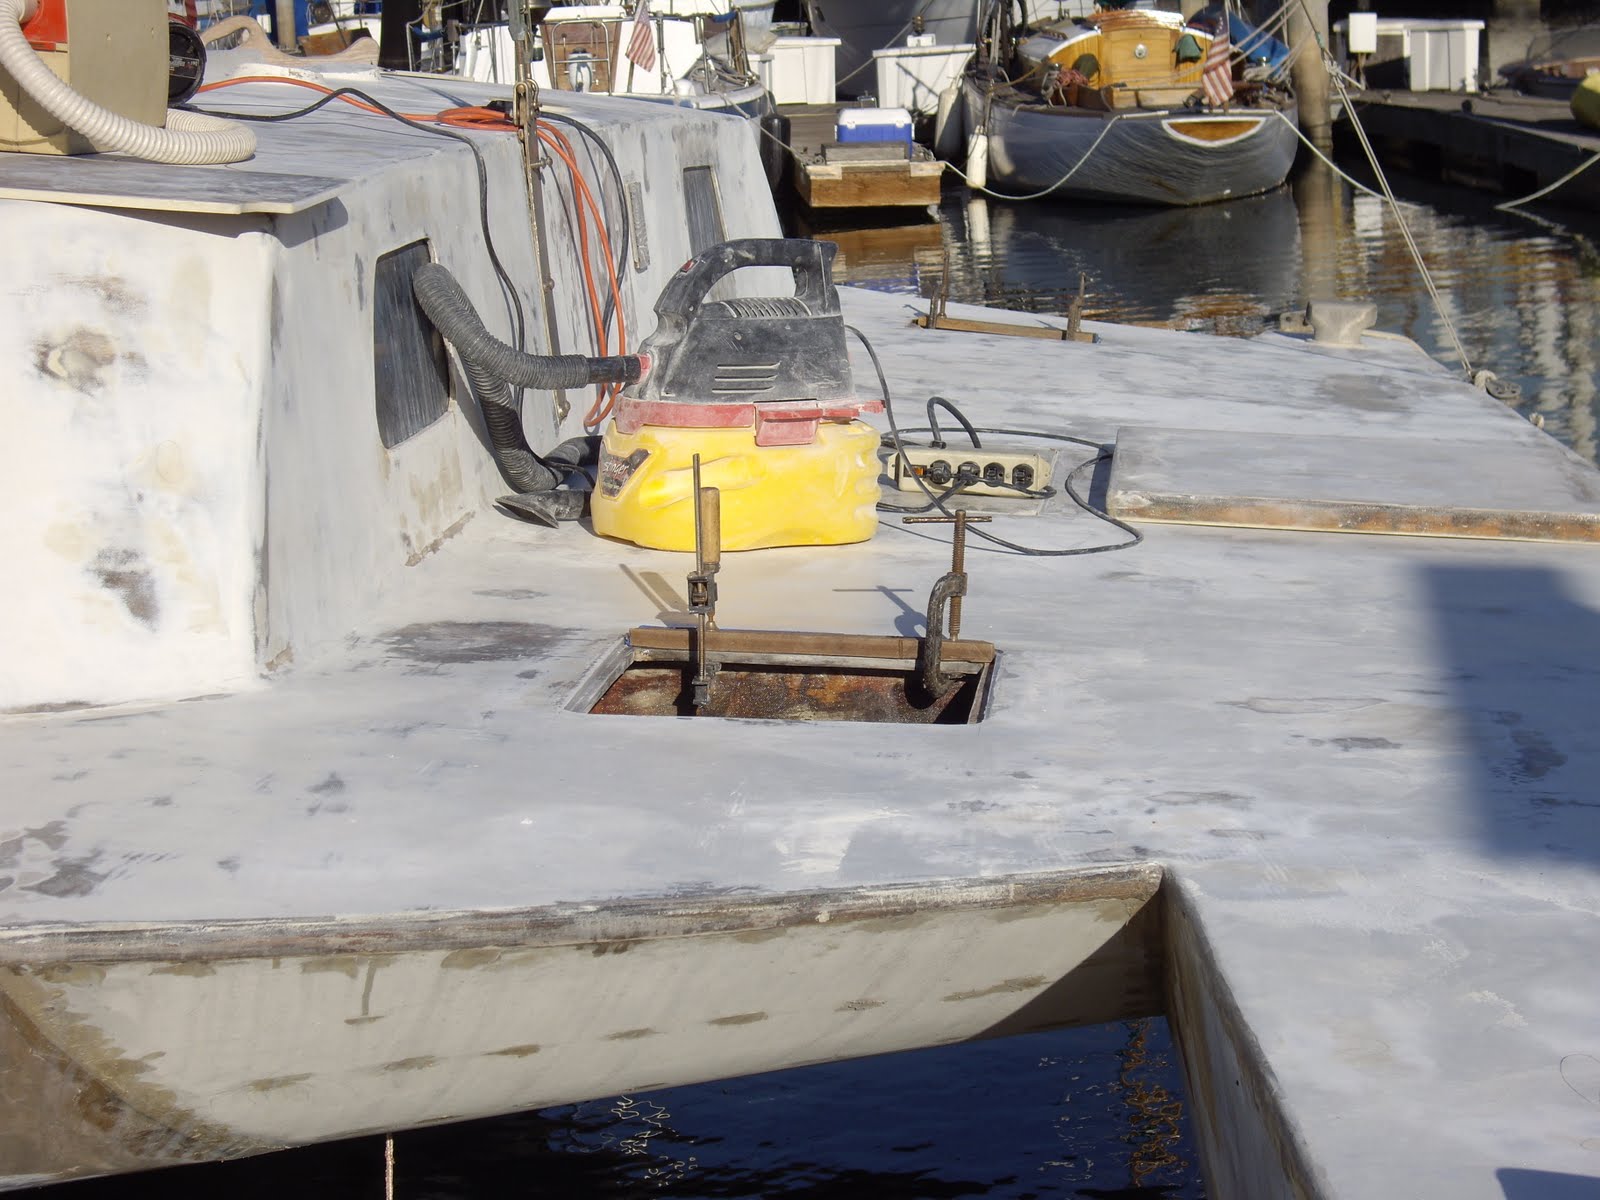
Work has been progressing daily although it seems like not much is happening when on lives with the project.  It is by looking back at photos of a previous state that allows one to appreciate the progress gained.  The goal right now is to get all seven of the self-draining lockers totally mummified in epoxy to avoid the problems of rot we had in the past.  When all the work is done, there will be a layer of fiberglass cloth on all surfaces in the lockers as well as the resin filler around all edges of plywood.  The last step will be to get protective paint on all surfaces to keep the sun off the epoxy.  Once the wet lockers meet our satisfaction, we will continue the ongoing deck preparation for the two-part primer prior to finish painting.

Mark Johnson of Delphys offered another tip I was not aware of regarding the paint.  He said to put a very dark undercoat beneath the top coat of primer.  It is to protect the of epoxy which is damaged by sunlight.  I always thought that just getting paint on the epoxy would be enough.  But I have seen areas where I have only epoxy and white paint not covering any wood such as over an old bolt hole. Looking from he inside out, I can see light through the paint and epoxy indicating light does in fact penetrate the light colored paint.

I am sure I will get some funny looks from folks in the marina when they see the dark battleship gray of the first coat.  " What's that crazy trimaran guy doing?  Trying to be a stealth sailor?" I can just imagine several of them commenting among themselves.  Then when I get a coat of white on, the will realize I wasn't crazy after all (or that Doreen convinced me we should not attempt being stealth sailors).

It is amazing how much work goes into preparation for painting.  We are both getting tired of doing body work, b ut we know that it will pay off when the final coat of paint and non-skid goes on.

Thursday, January 13, 2011

Ama Hatch Edge Control

As much of the rest of the nation struggles with snow and cold, the sun is doing its winter thing here in Southern California as I continue encapsulating all the wet locker and float hatch covers in epoxy.  Fortunately, I can do this off the boat in a relative's driveway on nice flat ground!

Each ama hatch cover is getting a two-inch edge of glass.  By the time I have all four edges covered, the exterior side of these hatch doors should be totally impervious to water migration.  Let's hope so; it is taking what seems to be a lifetime on these details.  End-grain of plywood is a pain in the...

Note the alternate "green" transportation vehicles in the second photo below.  I sometimes use my commute bike to ride down to the harbor (about 14 miles away) if I am not carrying a load of tools or boat parts.


Other work accomplished is a thorough cleaning of the old Shipmate two-burner range and oven.  Unfortunately, the Shipmate  company is long gone, so no parts are available.  The old unit served us well when we lived aboard in 1990-1992, but I never liked the burner controls that could easily be bumped to the "On" position just by an accidental touch.  I could not find an easy way to convert them to burner controls that lock in the "Off" position, so I am changing these burners out for a couple from a Cabela's camp stove I picked up once when I was in Couer d'Alene, Idaho and looking over all the goodies in that humongous store.

The entire top of the stove will be replaced too since the original one had a stainless top with a non-stainless sheet of metal spot welded under it for a heat-sink.  This ferrous metal piece had rusted badly over the years and could not be removed easily from the stainless top.  Thus, it is a trip to one of the metal supply yards common in this area to find some stainless I will fabricate into a new top for the stove.  I also did not like the single grates for each burner, and way back in 1990 I had  made a heavy duty stainless grate to fit the entire stove top.  In this manner Doreen can place pots on the grate and move them about without fear of one of them slipping off the individual grate.


During the stove cleaning process I disassembled as much of the thing as practical and found some the the fiberglass insulation in the door is falling apart.  So, still another trip to some vendor for some fiberglass batting to repack into the oven door. It is always another trip to some store for something unexpectedly needed that sucks one's time away.  Now that we are working together on this major project, Doreen is getting better at being my "gopher." ("Go for this..., Go for that!")

Friday, January 7, 2011

A Third World Port? No, Los Angeles/Long Beach Harbor


Unbelievable the amount of trash that floats in the greater L.A./Long Beach Harbor!  Yesterday, January 6, 2011, the stuff just came around this old marina thick enough in places one could almost walk across it.  Blame it on all the trash that does not make into the landfills but rather along the streets that drain to the concrete rivers which flow to the ocean.  Add in the heavy recent record setting rains in Southern California, and one has the results here in the harbors.  Sad but true!  Picture proof of our land pollution.  Not a single day goes by that I don't see many plastic bags floating in the ebb and flow of the tide.

On a more germane topic to the refit of ETAK, I can say that I got some more done during all the floating trash.  The port ama (float) had some wood deterioration on the outside of the hull.  I got some bog into it and will cover that today with some cloth and glass.  In the galley area I began stripping several coats of old paint off the main bulkhead to get down to bare Douglas fir ply in order to seal up the grain permanently before adding a finish topcoat (still a long time away).

Recoating surfaces that should have been done before building the boat is twice (may ten) times as hard to do now.  But, it is getting done, square inch by square inch. 

The forward starboard wet locker in the wing area now has a fresh coat of epoxy resin on support lip that will get an additional coating today while the resin is still green.  My hands are still stiff from the heat gun stripping yesterday but not as bad as last night when they would cramp with certain movements.

Those two lines going under the wing deck are connected to my 10 foot lapstrake dinghy.  While I am working topside it is much easier to have the dink in the drink and out of the way.  The downside is I need to haul it up on the dock occasionally and wipe the bottom down since there is no anti-fouling paint on the underside.

We took our first ride in the little guy the other day, heading downstream along the channel and looking at other vessels in our area.  The return trip took a bit longer since we were going against the current.  It felt good to row the dink again, and Doreen enjoyed the ride.

Let's hope for less harbor trash today!

Tuesday, January 4, 2011

Bog for Ama Hatch Covers

Doreen learned about mixing epoxy with filler today.  Using the gram scale to mix our 2:1 combination epoxy, she whipped up a couple or three batches of about 150 grams each of no-blush epoxy.  She then added some West 403 filler plus some other I had on hand to stiffen up the mix for applying into the channel she had made with blue masking tape.  This channel is on the underside edge of the largest hatch doors on ETAK, the ama hatch opening covers.  I want about 1/4" of this mix to seal off all the wood along the base of the hatches.  We also worked together on one edge of a wet locker cover.  First I sawed off about 1/4" of the plywood, then we filled the same type of channel along the edge to seal the plywood completely. 

The area where I have been removing the old alkyd base paints on the forward main bulkhead is turning really ugly!  At least that's what the first mate said today when she saw the work I had done just two days before.  I am taking the surface down to bare plywood in order to put on a thin layer of fiberglass cloth.  Take a look at what has come off already and see if you agree with Doreen.  Still lots to go yet.

Sunday, January 2, 2011

2011, Yet Another Year Begins--More Progress Planned

Imminent projects for the next couple of days:
  1. Remove about 1/4" of edge along all wet locker doors, and add back that same amount in epoxy and thickener, commonly called "bog." I want all raw wood edges TOTALLY sealed from water penetration;
  2. Drill out the primary and secondary shroud chain-plate bolt holes in the new stainless material;
  3. Primer with the two-part special primer all the flat surfaces of the pieces I brought home;
  4. Between 6 and 48 hours later, apply the first coat of this new paint I am experimenting with on the primered surfaces.
The hole I plugged in the cabin top where the old, leaky Nicro-Fico vent used to be, is now filled and strong.  It only needs leveling with the surrounding wood/epoxy to disappear completely.

An interesting concept I got from Mark Johnson of the Searunner 34 DELPHYS on the east coast, is painting all surfaces, especially the horizontal ones that get lots of sun, a dark primer color before going to the lighter finish coat.  His thinking is that the UV goes through a light color and eventually does damage to the expoxy substrate.  I first thought that this penetration would not occur through a good coating in primer, but as I look at areas I have covered where there is no wood substrate (such as bolt holes), I can actually see the light coming through.  Man, are the people going to get a surprise when they see me rolling on a primer that is dark gray, almost black!   On a sunny day, it surely will warm things up until the next primer coat in white goes on!

The human-wast issue keeps coming to mind as I plan the interior changes at this point in the refurbishment stage of things.  There are a number of approaches that have been used over time:
  1. Bucket-and-chuck-it (only good outside the legal limits in the oceans);
  2. Porta-potty with small holding tank, common in smaller recreational vehicles;
  3. Typical marine-head with complex pump with affluents going to a holding tank;
  4. Vacuum head such as the Lavac with much simpler pump-out than in 3 above, still pumping to a holding tank;
  5. Incinerating toilet such as used on the bombers in World War II (not very practical on a sailboat with the energy required plus the danger of fire below);
  6. Toilet that treats the waste and purifies it.  Are there any?
  7. Composting toilet;
  8. WAG bag system as used by the masses after Hurricane Katrina.
There probably are other approaches not listed above.  Your comments are solicited!  I once had a Lavac hand pump vacuum lid toilet on board and really liked its simplicity.  At that time we had no holding tank so its use was very limited, primarily for use in international waters.  With a holding tank, one is back to the dilemma of a holding tank situation (hoses, capacity, where to install it, pump out set-up, etc.).  I like the WAG bag concept.  It is what Lynn and Larry Pardey use on their boat, with the bucket-and-chuck-it approach when at sea.  Cost is a factor, as it is on-going to buy the commercially available bags or Pooh Powder.  But a toilet and system, ain't cheap either, at least initially.  Perhaps going back to the Lavac head without a holding tank (or a minuscule one to meet coastal regulations, and combining it with a WAG bag or PETT gelling system would work.  But, it is getting close to decision time.